

HOW TO DRY AND STORE FRESH HERBS — PRESERVING FLAVOR AND AROMA FOR LONGER USE
Is it worth using dried herbs? In most cases, fresh herbs win for their vibrant flavor, but certain herbs like oregano, thyme, marjoram, bay leaves, and mint actually develop pleasant, distinct aromas when dried. Keeping these dried herbs on hand ensures you always have flavorful seasoning available year-round.
Below is my step-by-step method for drying thyme and oregano this year, which works well for any small-leaf herbs including marjoram. Hanging herbs upside down concentrates their volatile oils in the leaves, preserving aroma and taste. This traditional method is also used for drying lavender bunches. My oregano comes from Mount Aenos in Kefalonia, and the thyme is from my grandmother’s garden.
🕒 Total Time: Several weeks (for drying)
🍽️ Yields: Dried herbs ready for storage
Ingredients
- Fresh thyme, oregano, or marjoram sprigs
Instructions
1. Prepare and Tie the Herb Bundles
- Gather herbs into small bundles, similar to flower bouquets. Avoid making bundles too large—air circulation is key.
- Tie each bundle tightly with kitchen twine or string.
2. Hang to Dry
- Hang the bundles upside down by the tie in a well-ventilated, shaded place (a pantry or cellar works well).
- Ensure they are protected from direct sunlight to preserve flavor.
- Hanging upside down concentrates essential oils into the leaves.
3. Dry Completely
- Leave bundles to dry for several weeks until leaves crumble easily when rubbed between fingers.
4. Store the Bundles or Prepare Ground Herbs
- You can store the dried bundles as is in paper bags or breathable cloth bags.
- Keeping whole sprigs allows you to use the stems in recipes (e.g., simmering soups and removing before serving) and helps retain aroma longer.
- I keep most bundles whole and, when finished, grind fresh batches into jars.
5. Separate Leaves from Stems
- Place a dried bundle into a sturdy plastic bag.
- Gently but firmly pound the bundle with a meat mallet or rolling pin to loosen leaves.
- Rub the bundle vigorously between your hands (silicone gloves recommended as dried twigs can be sharp) to separate leaves from stems.
- Remove the bundle and discard any remaining woody stems after collecting as many leaves as possible.
- Spread leaves on parchment paper to air out.
6. Remove Stems and Grind
- Manually pick out any large woody stems left among leaves.
- Using a spice grinder or coffee grinder, pulse the leaves until uniformly crushed.
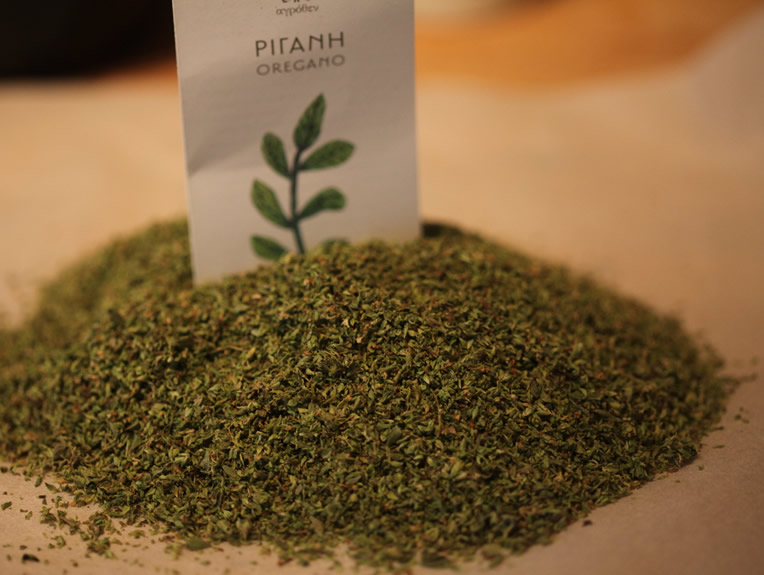
7. Store Your Dried Herbs
- Transfer crushed thyme, oregano, or marjoram to airtight glass jars.
- Store in a cool, dark place for optimal shelf life.
💡 Tips
- Small, tightly packed bundles dry best and most evenly.
- Hanging herbs upside down preserves essential oils in the leaves.
- Keeping some dried bundles whole offers versatile cooking use.
- Grinding dried herbs fresh before use maximizes flavor.
- Use silicone gloves to protect hands during vigorous rubbing.
🎉 Perfect For
- Home cooks wanting fresh-season flavor year-round
- Preserving summer or garden herbs economically
- Preparing your own dried herbs for seasoning and tea
- DIY herbal gifts or pantry staples
📝 Final Thoughts
Drying herbs properly lets you capture and preserve their essential oils and flavors, allowing you to enjoy fresh herb taste long after harvest. Whether you use them whole or crushed, these simple steps bring garden freshness to your kitchen throughout the year.