Useful Measurement Units in the Kitchen
Cooking is an art that combines creativity with precision to create the perfect taste. Whether you are a professional chef or a cooking enthusiast, correct use of measurement units is very important for the success of dishes. Exact measurement of ingredients ensures balance of flavor, texture, and final presentation.
There are several types of measurements commonly used in the kitchen: weight, volume, temperature, and time. Each plays an important role in a recipe’s success.
1. Measuring Solid Ingredients
Dry ingredients like flour or sugar must be measured carefully to avoid variations that can affect texture. Incorrect measuring can result in dough that is too dense or too soft, impacting the final outcome.
Weight Units
- Gram (g) – for small quantities (e.g. yeast, spices, powdered sugar, baking powder, salt).
- Kilogram (kg) – for large quantities (e.g. flour, sugar, rice, butter, hard cheeses).
How to Measure Solids Correctly
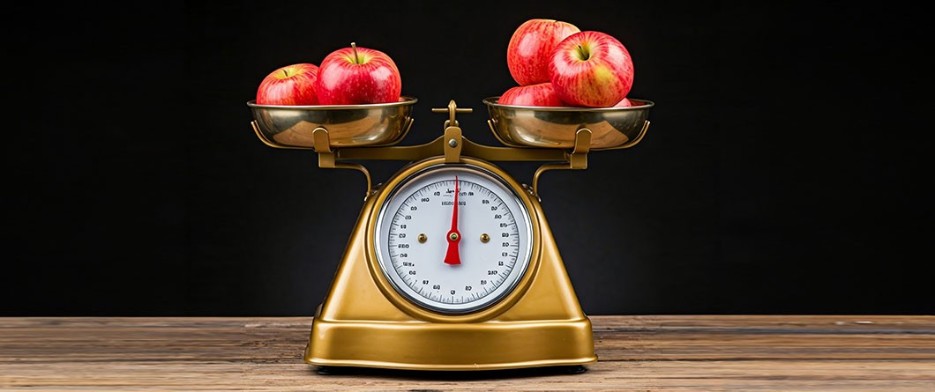
- Use a digital kitchen scale for maximum precision. Weigh ingredients according to the recipe to maintain balance.
- Weigh ingredients directly in the container, using the tare function to subtract its weight.
- Avoid measuring dry ingredients by cup, since compression varies with humidity and ingredient type. For example, a packed cup of flour weighs more than a sifted cup.
- Fluff flour before measuring by loosening with a spoon and leveling with a knife.
- Measure sugar carefully—different sugars have different densities. Brown sugar is denser; powdered sugar is lighter.
Tips & Tricks
- A cup of flour weighs about 120 g, but if packed, can reach 150 g.
- Granulated sugar is heavier: one cup weighs 200 g.
- A cup of cocoa powder weighs about 90 g, as it is aerated.
- One tablespoon of flour weighs about 8 g.
- One tablespoon of sugar weighs about 12 g.
- One teaspoon of salt weighs 6 g, though coarse salt varies.
- Butter is often measured in grams, but some recipes use tablespoons: 1 Tbsp butter = 14 g.
By applying these methods and using the right tools, you’ll achieve more precise, consistent dishes and reduce the risk of kitchen failures.
2. Measuring Liquids
Liquids such as water, milk, oil, or cream are measured by volume. Precision is essential, especially in pastry, where small imbalances affect final texture.
Volume Units
- Liter (L) and milliliter (mL) – metric system.
- Cup, tablespoon (Tbsp), teaspoon (Tsp) – US system.
How to Measure Liquids Correctly
- Use a clear, graduated measuring cup and read the exact level.
- Place on a flat surface and read at eye level for maximum accuracy.
- Do not fill above the mark—viscous liquids like oil or syrups may appear lower than they are.
- For viscous liquids (honey, syrups), coat the measuring spoon or cup lightly with oil before measuring.
- Avoid using cups or spoons for viscous liquids, as shape affects volume.
Useful Conversions
- 1 cup = 240 mL
- 1 tablespoon = 15 mL
- 1 teaspoon = 5 mL
- 1 L water/milk = 1 kg
- 1 L oil ≈ 900 g
- 1 L liquid cream ≈ 1.1 kg
Tips & Tricks
- Water, milk, and natural juices have density ~1 g/mL (1 L ≈1 kg).
- Oils and fats are lighter than water—measure separately by weight.
- Alcohol is lighter than water—1 L weighs less than 1 kg.
- Cream and yogurt are denser—1 L can weigh more than 1 kg.
- A graduated cup and set of measuring spoons ensure precise, balanced dishes.
3. Measuring Temperature in Cooking
Temperature influences texture, flavor, and food safety.
Temperature Units
- Celsius (°C) – used in most of Europe.
- Fahrenheit (°F) – used in the USA.
Optimal Temperatures for Techniques
- Bread baking: 200–220 °C
- Cake baking: 170–180 °C
- Roasting chicken: 180 °C
- Cooking medium-rare steak: 55–57 °C
- Sugar caramelization: 170 °C
How to Measure Temperature Correctly
- Use a kitchen thermometer for meat, liquids, and baked goods.
- Insert probe into the thickest part of meat or dough.
- Adjust oven temperature according to recipe and equipment.
Tips & Tricks
- Preheat oven for even baking and stable temperatures.
- Spray water in the oven at the start of baking bread for a crispy crust.
- Instant-read thermometers speed up meat checks.
- Gradual cooling of baked goods prevents structural collapse.
- Precise temperature control prevents burning or undercooking.
4. Measuring Time in the Kitchen
Correct cooking times are vital for perfect dishes. A kitchen timer or phone stopwatch helps track each stage.
Cooking Times for Common Foods
- Al dente pasta: 7–10 minutes
- White rice: 15–20 minutes
- Roast (oven): 1–2 hours depending on meat cut and thickness
- Cakes: 30–40 minutes at 170–180 °C
- Steamed vegetables: 5–15 minutes depending on type and texture
Tips & Tricks
- Set separate timers for each recipe stage to avoid overcooking.
- Rest meat 5–10 minutes after cooking to retain juices.
- At high altitudes, water boils at lower temperatures—extend boiling times.
- Even baking depends on preheating and proper heat distribution.
- Following time guidelines ensures flavorful, perfectly textured dishes without raw or burnt outcomes.
In conclusion, correct ingredient measurement starts with the right tools and accurate conversions. From a kitchen scale to a graduated cup and thermometer, each utensil plays an important role.
Remember: a successful recipe begins with precision and attention to detail! Cooking becomes easier and more enjoyable when you use correct measurement units!


