
 1")
Everything You Need for the Perfect Halloween Pumpkin (Plus Some Fun Secrets)
Why We Love Halloween
We can’t speak for everyone, but here, Halloween is simply an excuse to bake some traditional autumn pies and tarts while the house fills with the scent of cinnamon and cloves. Meanwhile, we carve fun faces into pumpkins and roast the seeds for a nostalgic childhood snack. What’s not to love about that?
Sweet Treats to Bake
When it comes to fall pies, things are simple and delicious. You could go with a classic apple tarte tatin, a pear version, or try a rustic apple galette. For something fancier, we love creamy, fragrant mini pumpkin cheesecakes—sweet enough to spook you (in a good way)!
Time to Carve! But First, Safety and Fun
While the goodies are baking, it’s time to pull out your knives—because your Halloween is about to get spookily adorable. Whether you’re carving pumpkins for your child or just for fun, it’s sure to bring laughter and creativity into your home. Follow these steps to sculpt your jack-o’-lantern safely and enjoyably.
1. Use a Serrated Knife to Cut the Pumpkin Lid
Before you begin your “Brâncuși Meets Halloween” operation, cover your table with newspaper—your floor will not stay clean. Wash and dry your pumpkin, then cut the top about 5–6 cm from the stem using a serrated knife. Move the blade back and forth as you would when slicing bread. Use the largest knife from a pumpkin carving kit if you have one, and make sure the opening is wide enough to fit your hand inside for scooping.
2. Use an Ice Cream Scoop to Clean the Inside
Start by removing the bulk of the pulp with your hands. Then use a shallow ice cream scoop to scrape and clean the inside walls. A clean pumpkin lasts longer. And don’t throw out the pulp—put it in a bowl, separate the seeds, wash them, salt them generously, and roast them for a nostalgic snack you won’t find in any supermarket bag.
3. Sketch the Face First
This is the creative part! You can use stencils or freehand it—just make sure you and your kids decide if you’re going for scary or silly. Use a pen or marker to draw the face, then lightly score the lines with the tip of a knife to mark your cuts.
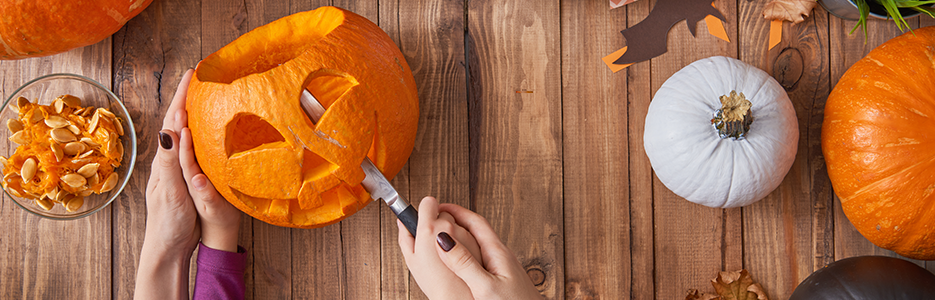
4. Use a Small Paring Knife to Carve
Don’t think a bigger knife is better. A long blade increases the risk of injury. Instead, use a compact, sharp knife or the serrated tool from your pumpkin kit. Work slowly and carefully—one wrong move can turn your spooky masterpiece into a gap-toothed goofball!
5. Let There Be Light
Place a small candle inside the pumpkin, ideally in a fire-safe holder. For added safety (especially near curtains or kids), opt for electric lights: a mini LED string, a battery-operated candle, or even a glowing toy. They’re safer and just as magical.
Final Touches
Clean up your “carving station,” then treat yourself to freshly baked, eerily delicious autumn sweets. Happy Halloween!