

How to Sharpen Your Kitchen Knives Properly at Home
A sharp knife is a vital tool in any kitchen, whether you’re preparing a quick meal or working through a complex recipe. Beyond efficiency, a well-maintained knife also enhances safety by minimizing the risk of slipping and accidental cuts. Fortunately, knife sharpening is a simple process that can be done at home—no professional equipment needed.
Why Regular Knife Sharpening Matters
A sharp blade allows you to slice through ingredients cleanly and effortlessly, whether you’re chopping vegetables, slicing meat, or cutting bread. It improves speed and accuracy in the kitchen while keeping food intact and visually appealing.
More importantly, a properly sharpened knife is safer. Dull blades tend to slip, increasing the chance of injury. A sharp edge, on the other hand, provides control and stability with every cut.
Regular sharpening also extends the lifespan of your knives, reducing the need for frequent replacements.
Common Knife Sharpening Tools
There are several tools you can use to sharpen knives at home, each offering distinct benefits depending on your skill level and needs:
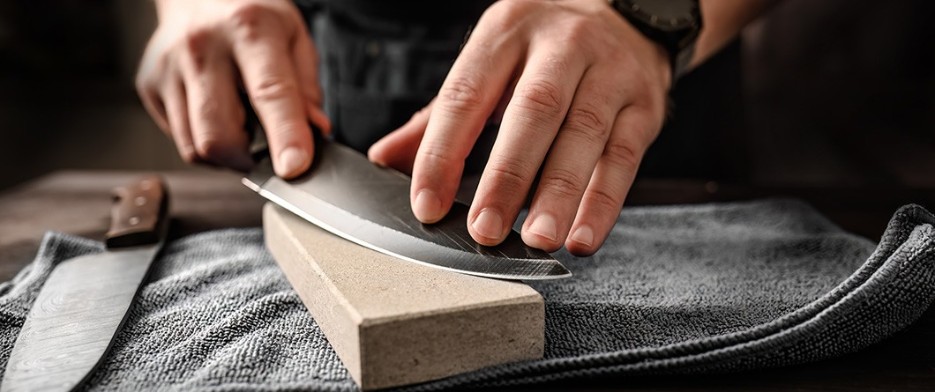
1. Whetstone
This traditional method allows precise sharpening using stones of various grit levels. While it requires some practice, it delivers professional results. The key is maintaining a consistent angle—typically between 15° and 20°—throughout the motion.
2. Manual Knife Sharpeners
These are user-friendly and ideal for beginners. Most models have preset slots with different grit levels, providing guided sharpening with minimal effort.
3. Electric Sharpeners
These devices offer fast, automated sharpening using spinning abrasive discs. While convenient, it’s important to use a quality model to avoid over-grinding the blade.
4. Honing Rod
Though not technically a sharpener, a honing rod is essential for maintaining the knife’s edge between sharpening sessions. It realigns the blade and helps preserve sharpness.
Step-by-Step Knife Sharpening Guide
Step 1: Choose the Right Tool
Select a method based on your comfort level and the type of knife. Whetstones are best for experienced users seeking precision.
Step 2: Prepare the Stone
If using a whetstone, soak it in water for 10–15 minutes before use. This helps minimize friction and ensures smooth sharpening.
Step 3: Maintain a Consistent Angle
Hold the knife at a 15°–20° angle for most kitchen blades. You can use an angle guide or learn by feel over time.
Step 4: Apply Even Motion
Draw the blade from heel to tip in a smooth motion across the stone or through the sharpener slot. Repeat evenly on both sides.
Step 5: Check Sharpness
After several strokes, test the blade by slicing paper or soft vegetables. A clean, effortless cut indicates proper sharpness.
Step 6: Clean the Blade
Always wash and dry the knife thoroughly after sharpening to remove metal residue and prevent corrosion.
Common Mistakes to Avoid
- Using too much pressure: Heavy force can wear down the blade unevenly and damage the edge.
- Incorrect sharpening angle: Each blade has a recommended angle; deviating from it results in poor sharpness or blade damage.
- Skipping cleaning: Residue left on the blade can affect food safety and lead to rusting.
By sharpening regularly and using the correct technique, you can maintain knives that are sharp, long-lasting, and safe to use—ensuring a better and more enjoyable cooking experience.