The Sweetest Kneading
Breads, pies, sweet rolls—there’s nothing more rewarding than making them with love, especially when you know all their secrets and quirks. No matter how skilled you are at measuring, sweetening, and assembling, you’ll always feel a flutter of sweet emotion when placing the tray in the oven. That’s passion in action. And to avoid too many worries, let’s first learn to knead the dough properly—with foolproof techniques that win it over every time.
Why Do We Knead?
When wheat flour is hydrated with water or milk, dormant proteins begin to activate. These proteins—glutenin and gliadin—interact to form a gluten network that gives the dough its stretch and structure. This gluten “blanket” can form through two methods: long fermentation or the relatively quick kneading process.
We won’t dive deep into the chemistry—after all, you’ve probably got dough to knead. But know this: once the gluten network is developed, the dough becomes elastic and easy to shape as desired.
How Do We Knead?
Step 1: The Preludes
Every great dough—bread, donuts, pies, or sweet rolls—starts in a large mixing bowl with flour and other dry ingredients. Make a well in the center and add the liquids required by the recipe. These should be lukewarm—not too hot or cold. Stir everything together with a spatula until the flour is moistened and a rough, shaggy dough forms. At that point, transfer it to your work surface and dive in with clean hands.
Step 2: Watch the Flour
If the dough is sticky, don’t panic—it’s influenced by ambient temperature, air humidity, and liquid temperature (the latter being the only one you can fully control). Never use hot water or milk.
Don’t rush to add too much flour. Start with less and knead to incorporate air. Sticky dough often transforms magically into perfect texture with continued kneading. Too much flour results in dense, brittle dough. Sprinkle flour onto your work surface gradually, and keep kneading using the heel of your palm—avoid poking with fingers to prevent sticking. The dough should feel slightly tacky but easy to lift off your palm.
Step 3: Fold, Press, Rotate
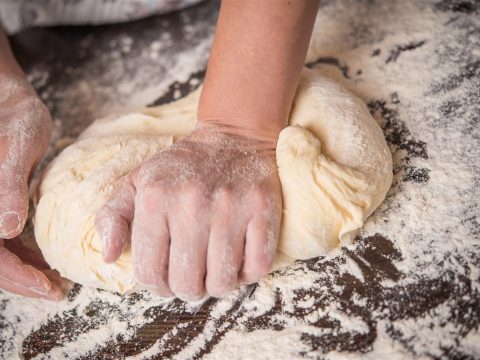
Once your dough is compact but tacky, true kneading begins. Use the expert-approved formula: fold it toward yourself, press it away with the heel of your palm, rotate 90°, and repeat. Continue for 10–20 minutes until the dough forms a smooth, soft ball.
What If…?
- If the dough feels too stiff to fold, let it rest for 5 minutes. The gluten needs time to relax.
- If the dough tears when folding, try being gentler. If that doesn’t help, let it rest again and try kneading afterward.
How Long Do We Knead?
Hand-kneaded dough needs at least 15–20 minutes. Technically, it’s ready when it has developed a strong gluten network. How can you tell?
1. Visual Test
When you’ve formed a smooth, fluffy, elastic dough ball—your job is done.
2. Touch Test
Press the dough lightly with a finger. If it springs back to its original shape, it’s ready. If not, keep kneading a bit longer.
3. The Windowpane Test
If it passed the first two, tear off an apricot-sized piece and stretch it between your fingers until it becomes thin enough to let light through. If it doesn’t tear, your dough is perfect.
Can You Over-Knead Dough?
Yes—but it’s rare when kneading by hand, since your arms will get tired first. Over-kneaded dough behaves like under-kneaded dough because the gluten bonds begin to break. This risk is higher when using stand mixers like a KitchenAid—but that’s another delicious story.


