

What Order to Place Meat on the Grill: Useful Tips & Recommendations
Grilling isn’t just about throwing meat on the fire and hoping for the best. To truly earn compliments at the end of the meal, you need to know which cut to start with when the flames are high, and how to achieve a perfect crust with a well-cooked interior without drying it out.
If you love outdoor cooking and want to become a grill master, read on to learn the proper order for placing meat on the grill and other handy tricks to ensure optimal searing without undercooked or burnt spots.
Choosing the Right Grill
Spoiler alert: there’s no one-size-fits-all grill. You can use a wood or charcoal grill, gas grill, or electric grill—your choice depends on your preferences. Do you enjoy the effort of achieving that traditional smoky flavor, or would you rather have a quick, elegant electric setup?
Wood/Charcoal Grill
This is the classic provider of juicy, seared meats. Wood or charcoal grills impart a delicious smoky aroma that barbecue fans love. They require more time, preparation, and cleanup, and temperature control is less precise—so the order you place meat is especially important.
Gas Grill
A gas grill delivers tasty results and is easy to use, but you must ensure you have a propane tank hooked up and ready. Plan ahead to avoid surprises when guests arrive.
Electric Grill
Electric grills offer convenience, speed, and precise temperature control, though they lack the traditional smoky flavor. They’re ideal for a quick, healthy grilling experience and easy cleanup.
How to Sequence Meat on the Grill
Even the most experienced grillers started as amateurs. Here’s the recommended order to place different meats on the grill:
1. Thick Cuts First
Large, thick cuts need the most time and benefit from both direct and indirect heat. Examples:
- Beef roasts
- Pork shoulder or bone-in pork chop
- Whole chicken legs
2. Marinated Meats or Sauced Cuts
Yogurt- or mustard-based marinades and BBQ sauces contain sugars that burn quickly over high heat, so grill these over medium heat. Pat excess sauce off before grilling to prevent charring; brush with additional sauce in the last 1–2 minutes.
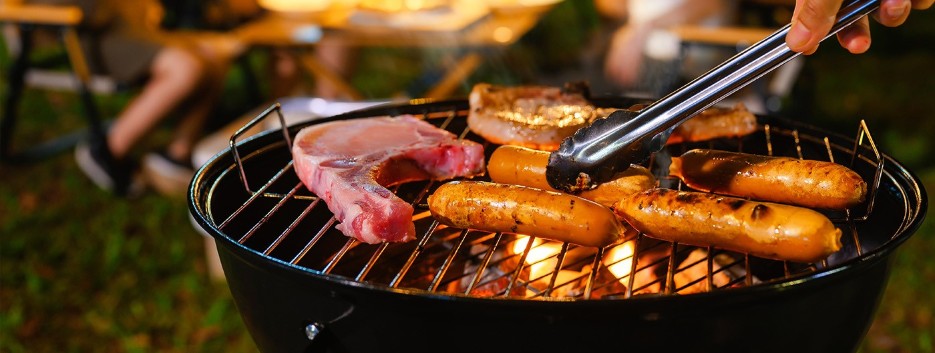
3. Final Stage: Sausages, Burgers, Deboned Chicken
- Skinless sausages: Turn often; do not press.
- Whole sausages: Grill over medium heat; pierce lightly to prevent bursting.
- Beef burgers: Flip only once; do not press down.
- Fish fillets & boneless chicken: Grill over medium to low heat for a crisp exterior.
4. Last on the Grill
When coals are still glowing but cooler, cook:
- Hot dogs or pre-cooked sausages
- Bacon strips
- Very thin meat slices
- Vegetables—zucchini, eggplant, bell peppers, tomatoes, onions
Essential Tips for Great Grilling
- Clean the grill: Heat it until hot, then brush with a metal grill brush or rub with half an onion to remove residue. Wipe with an oiled paper towel to prevent sticking.
- Prepare the meat: Remove from the fridge 30–60 minutes before grilling; pat dry and season just before placing on the grill.
- Maintain order: Follow the sequence above; resist flipping meat too often to allow a good crust to form.
- Don’t press the meat: Pressing squeezes out juices and dries it out.
- Let meat rest: After grilling, cover loosely with foil and rest for 5–10 minutes to redistribute juices before slicing.
By respecting these guidelines and the proper order for placing meats on the grill, you’ll achieve perfect textures, juicy cuts, and incredible flavors. Whether you’re serving pork shoulder, sausages, chicken, or a quick burger feast, follow the sequence and let your grill deliver delicious results!